
If you are regular reader or follow me on Instagram, you will more than likely know about our kitchen renovation that we've been doing over the last year. (yeah, it's really taken that long to finish!) This was my original moodboard post. It is finally finished now, and one of the major challenges we faced was the kitchen island worktop. The initial plan was to have it clad in copper - this wasn't a cheap option but something that I was really keen on. This all fell through when the company went awol, then our builders offered to do it, but then they went awol too. They left us with a plywood worktop which, while I actually quite like plywood at the minute, it just looked really rough and unfinished. They also left us with temporary taps as they hadn't yet fitted our new ones and I hated them! The cheapest of the cheap taps that kept twisting round when you turned them!
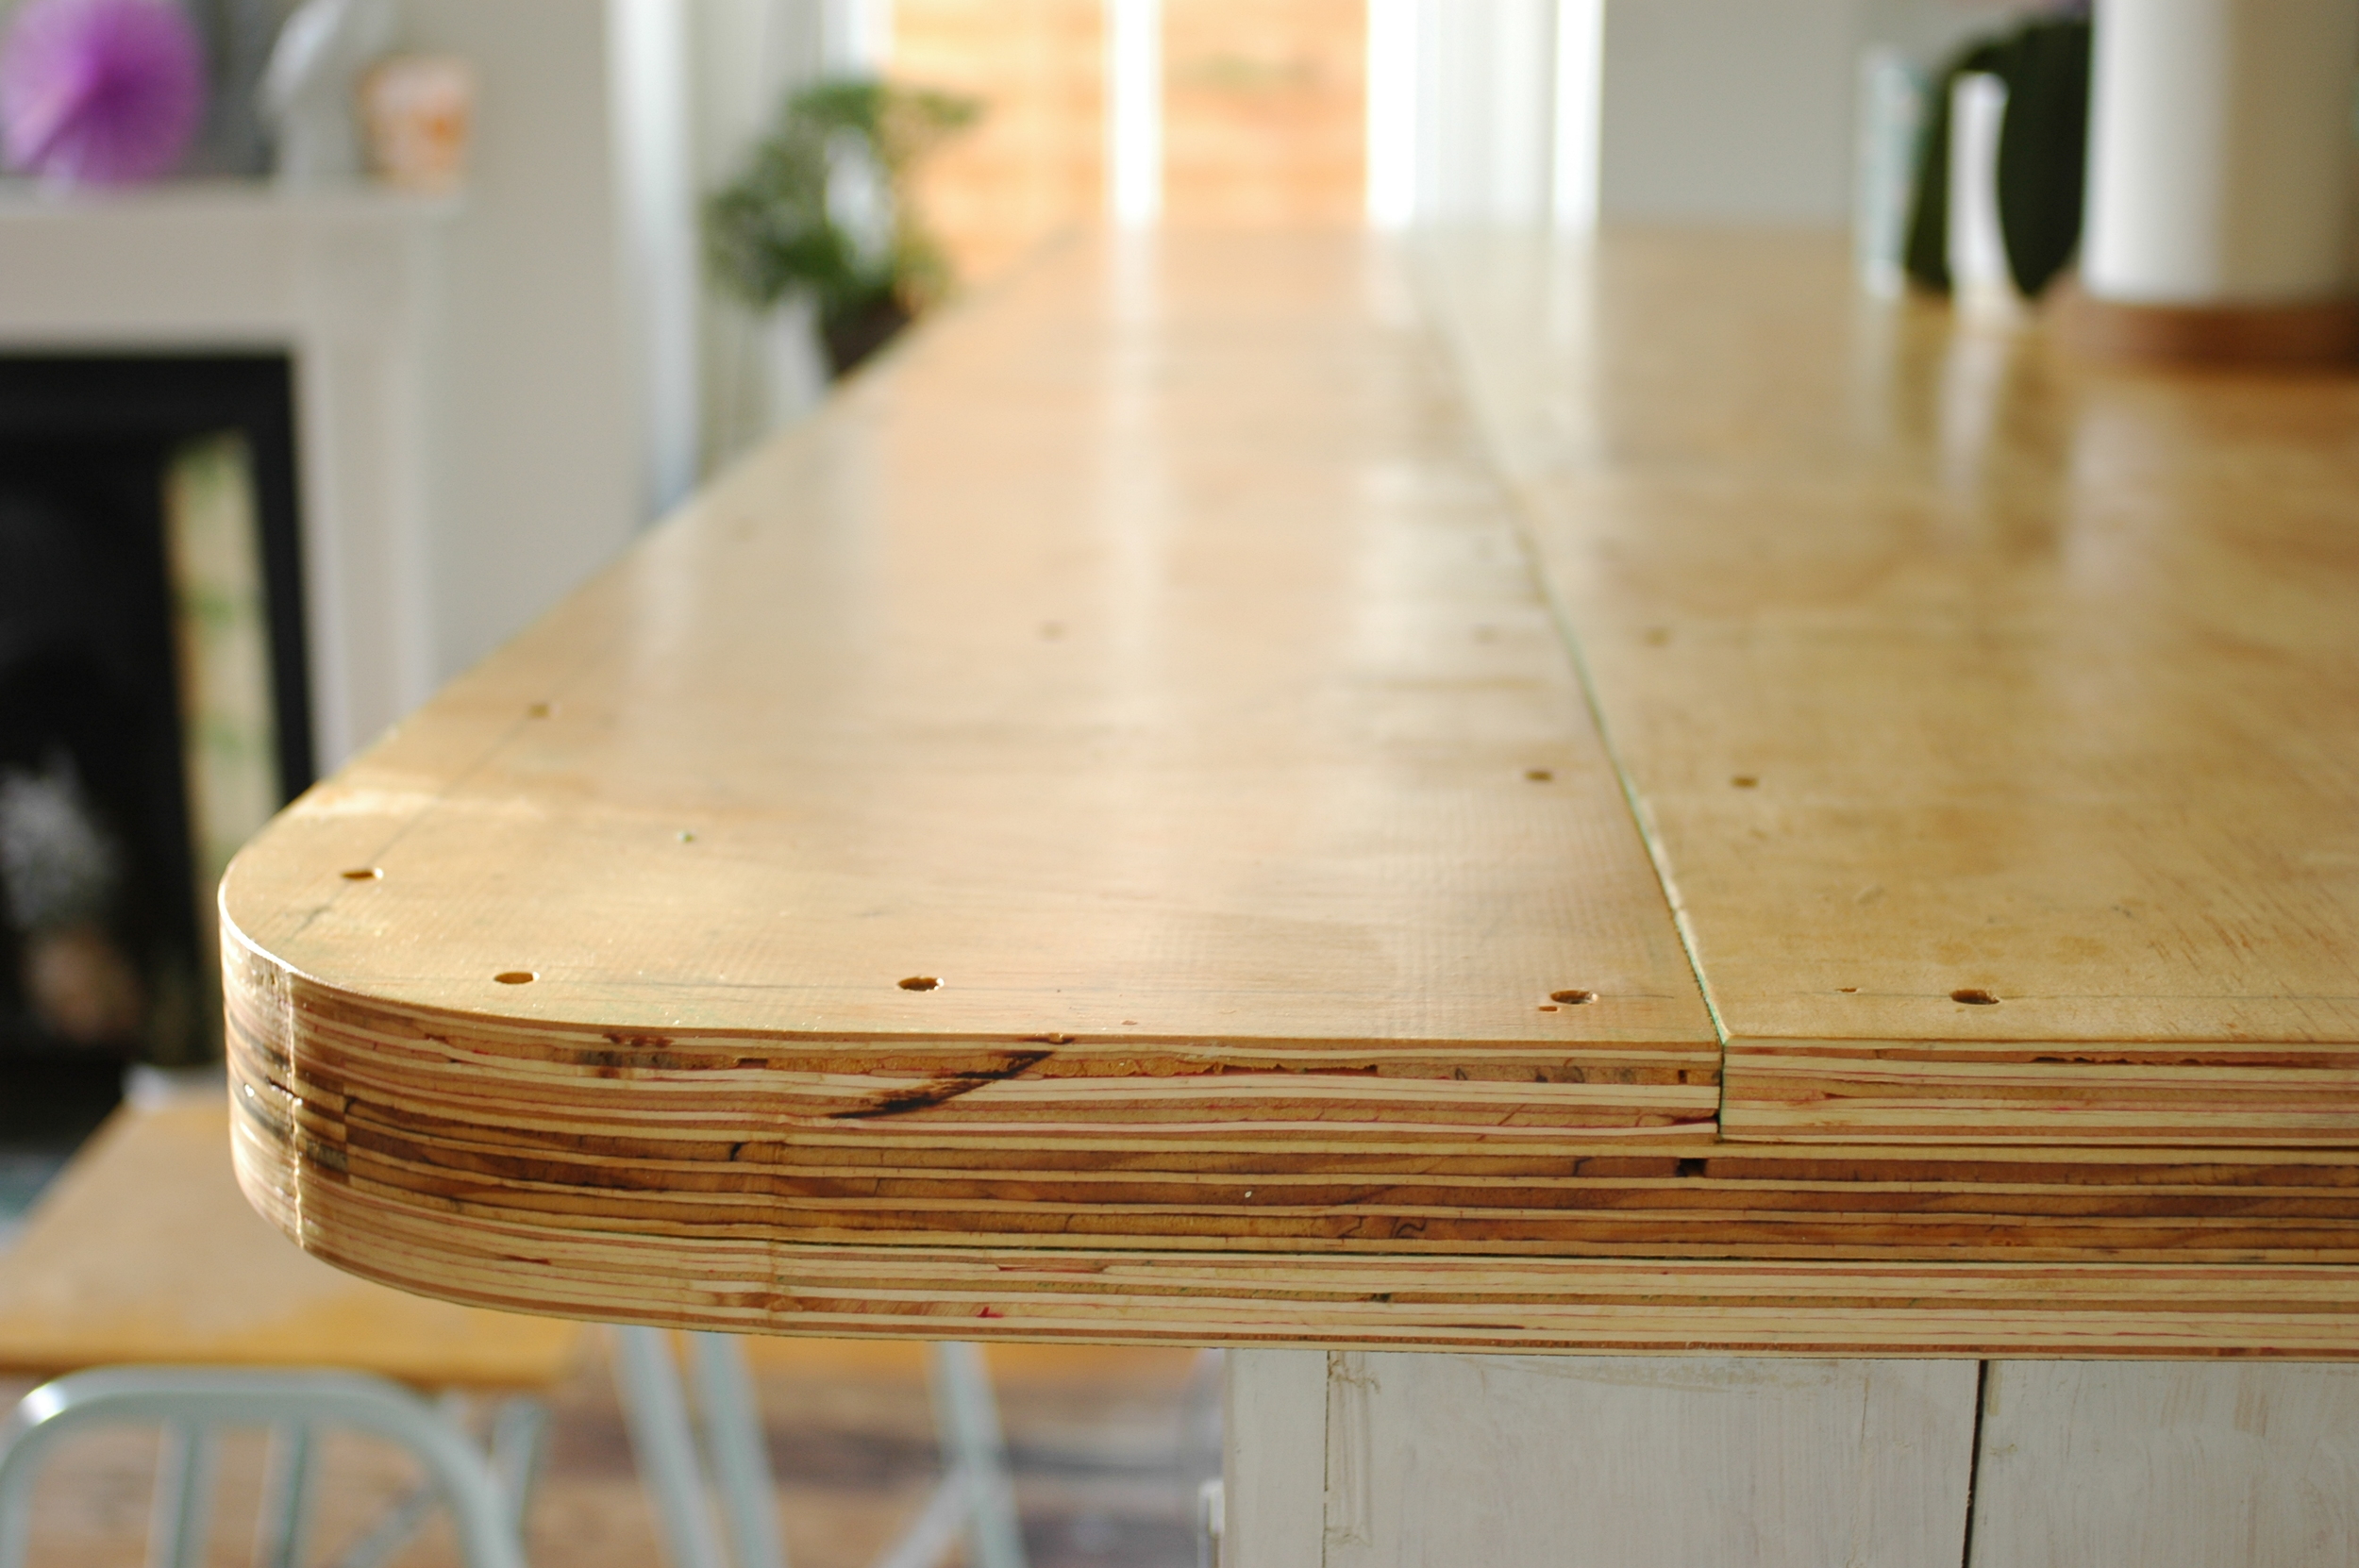

We decided we needed to find an alternative to a copper worktop as really it was just a bit expensive. For a while we toyed with the idea of concrete, which I blogged about here. We thought about doing it ourselves, but then concluded that it was just a little too daunting and we might make a real mess of it! So we got a quote from a company to do it, but this was just as expensive as the copper. So we were back at square one. In the end, we decided to go for a simple DIY idea, that would finish off the worktop but not cost a fortune.
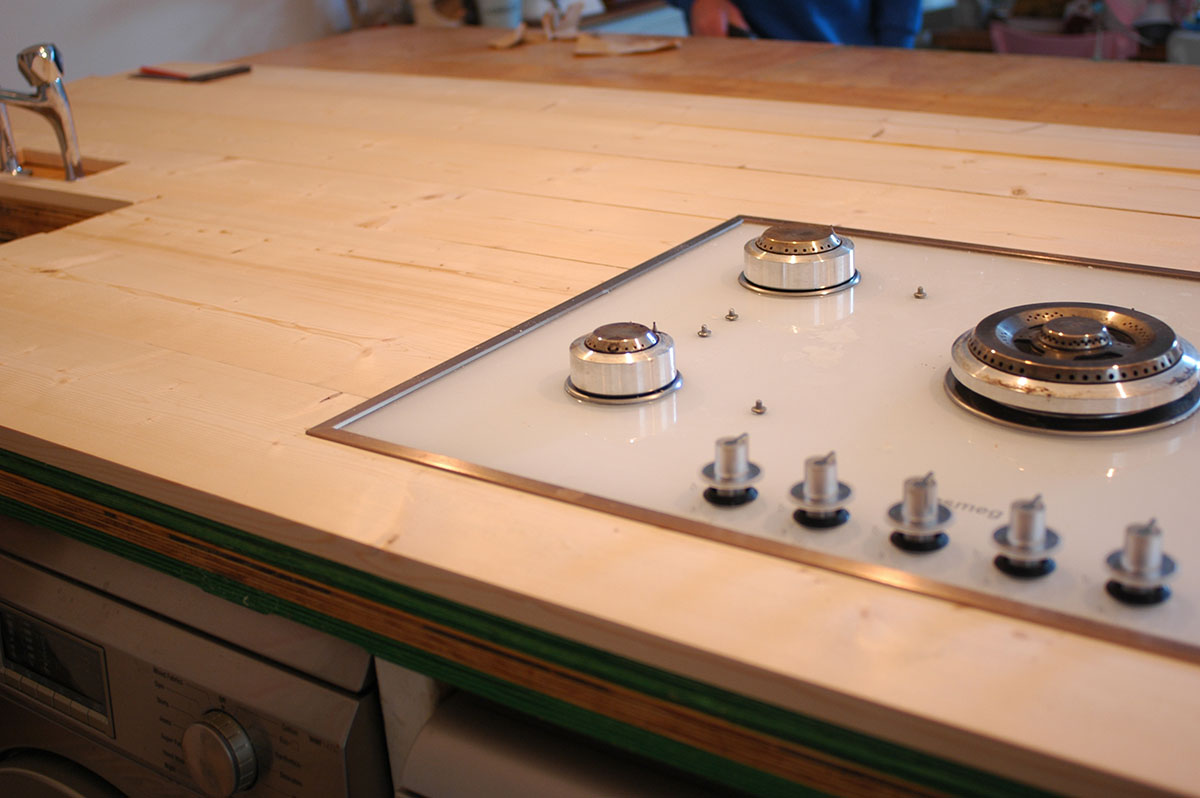

We bought some wooden planks, and simply screwed these on top of the plywood. Thankfully this meant that the hob was now flush to the worktop. (The builders has left it slightly raised up above the plywood for some reason)
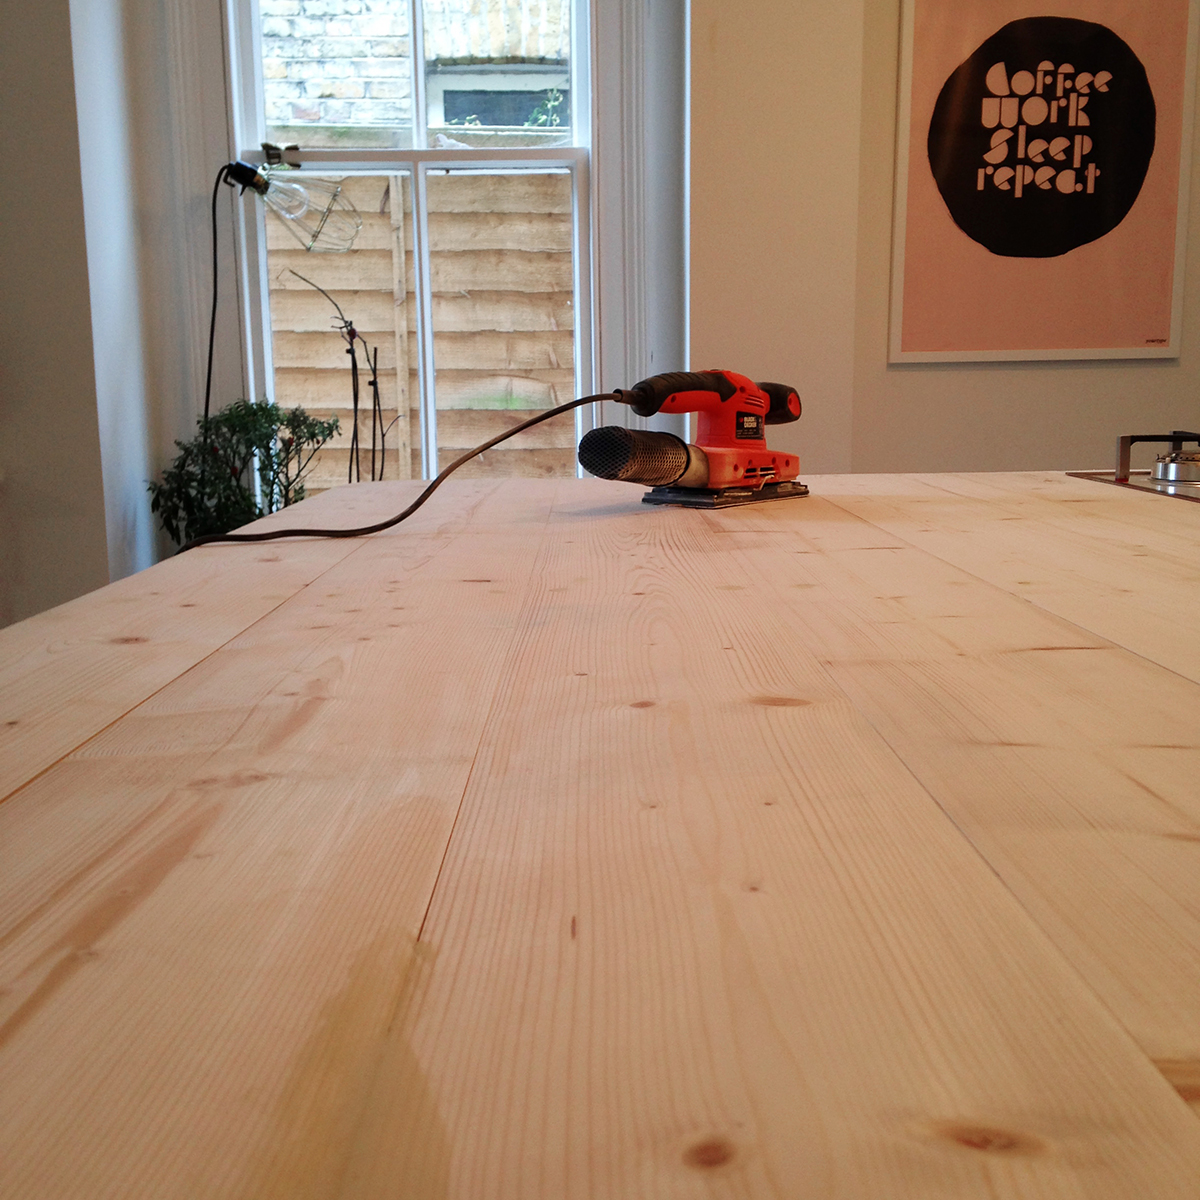
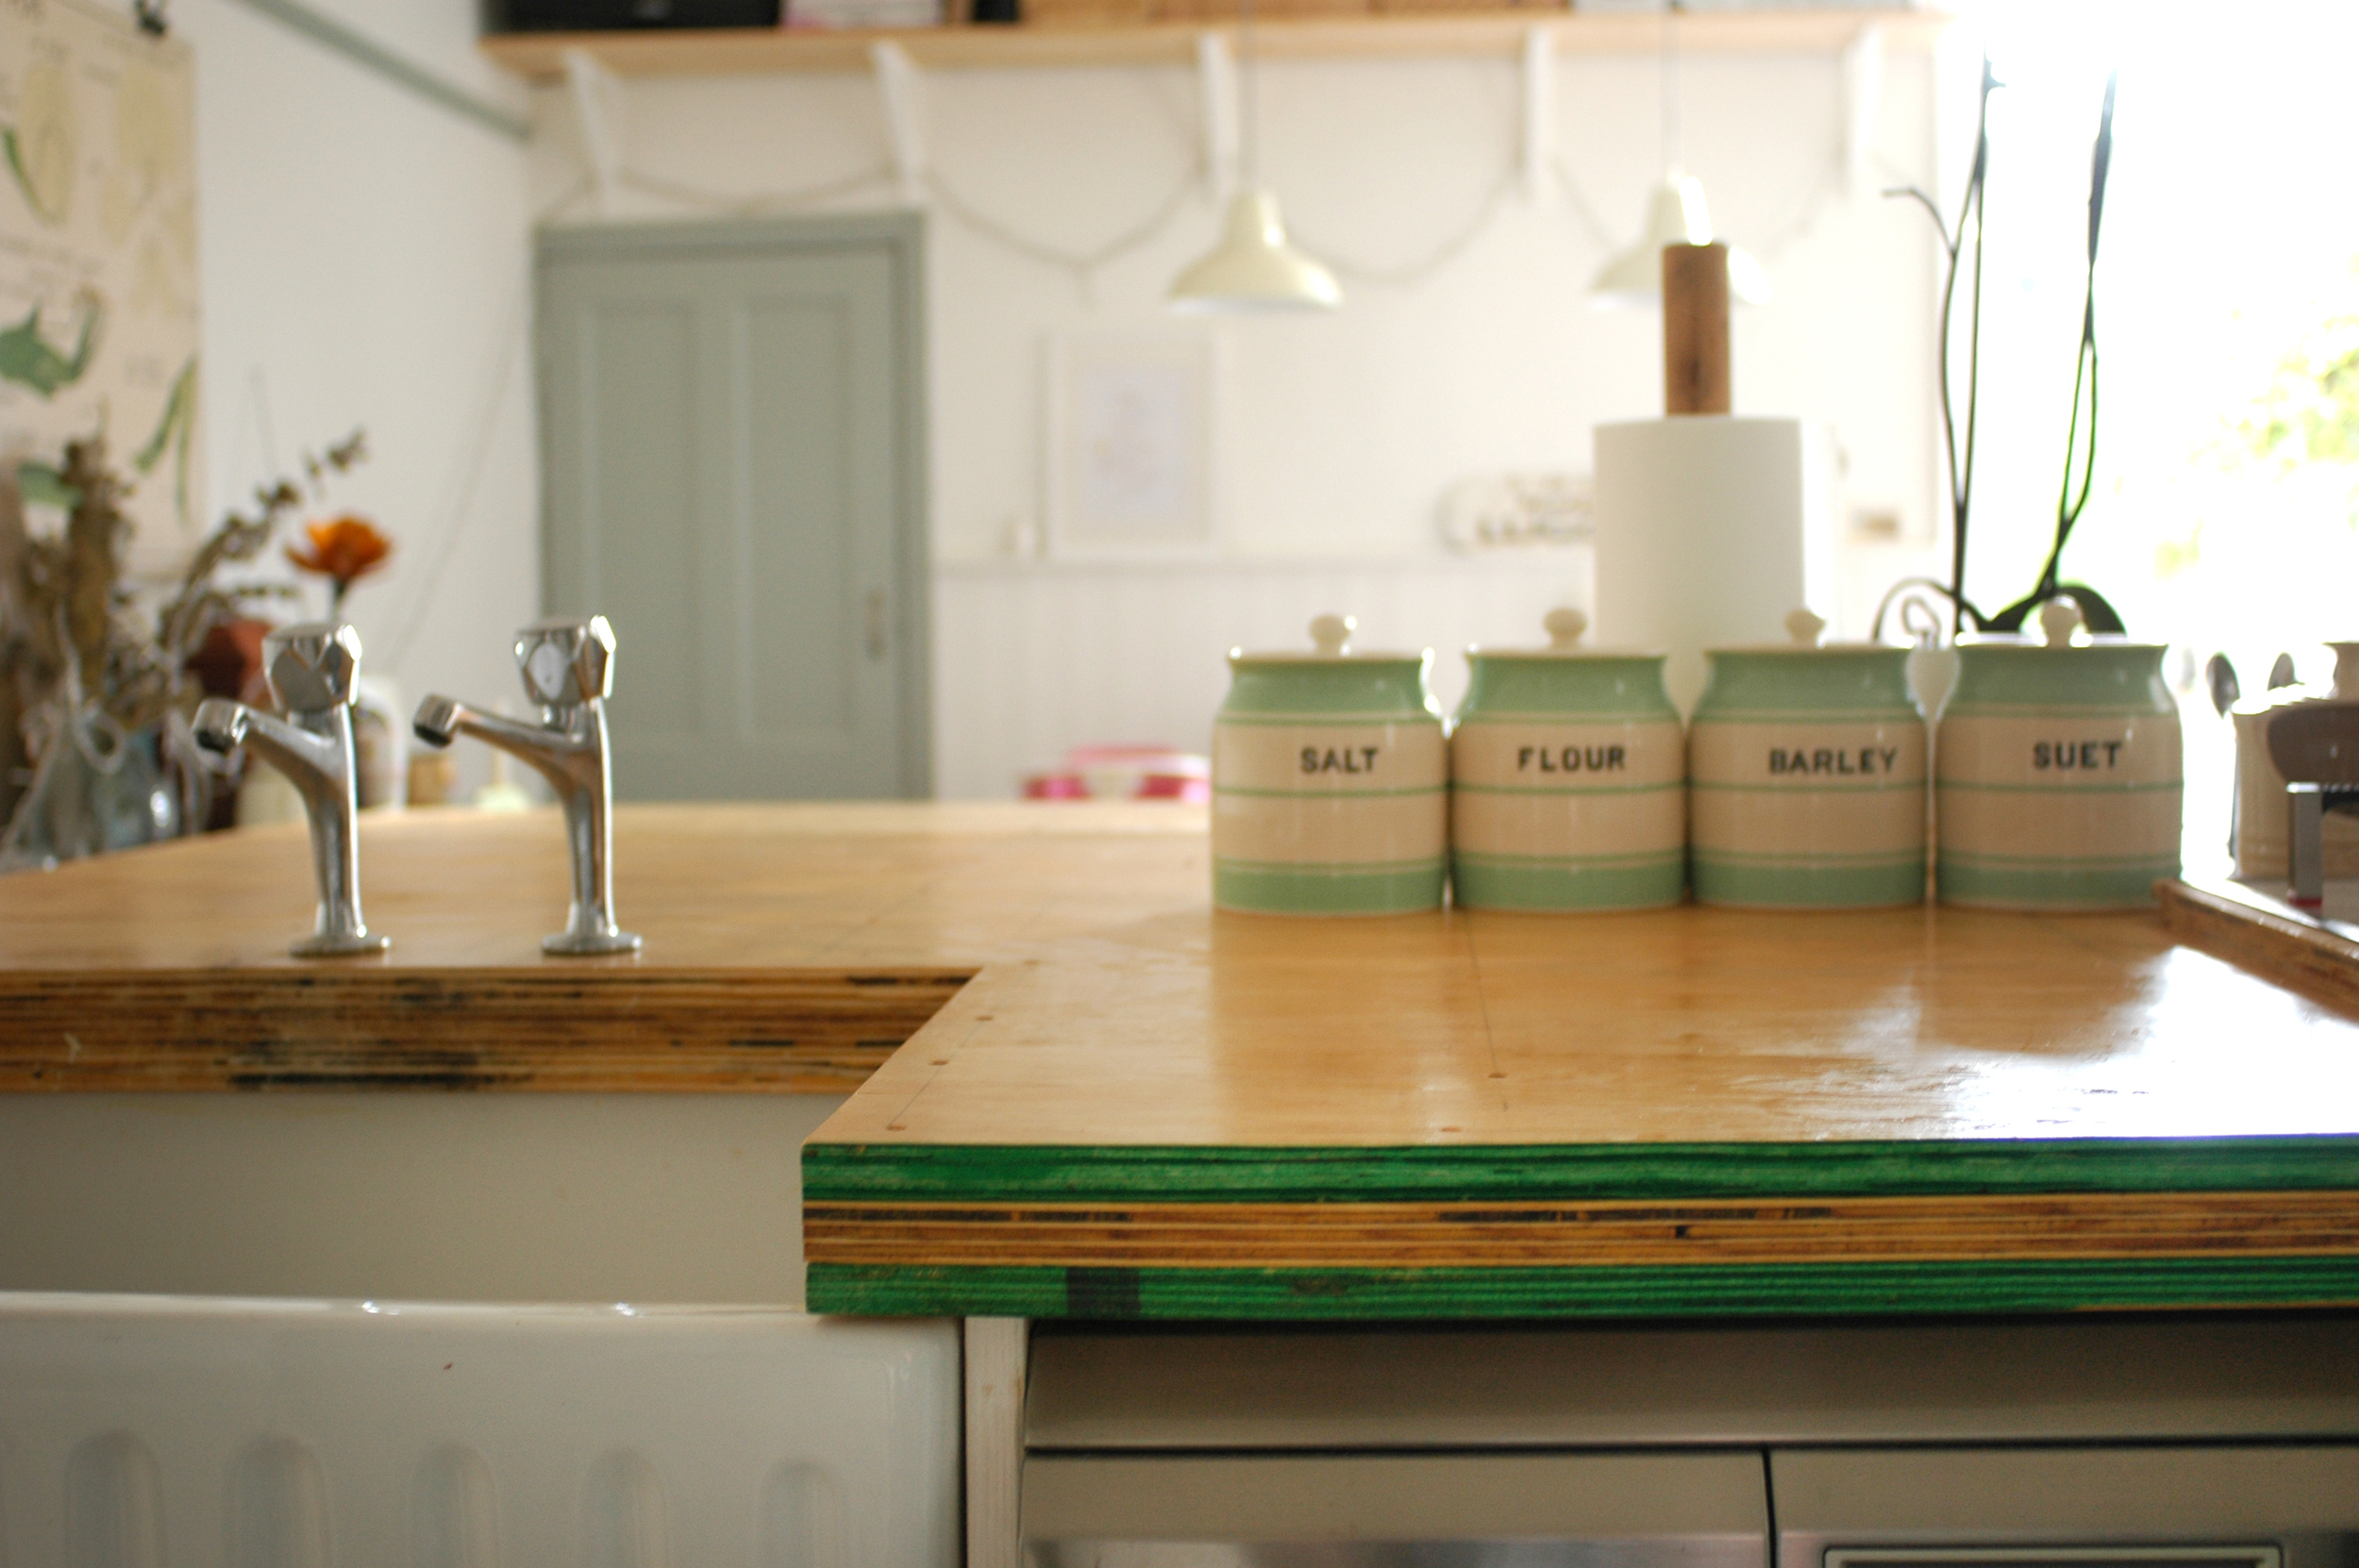
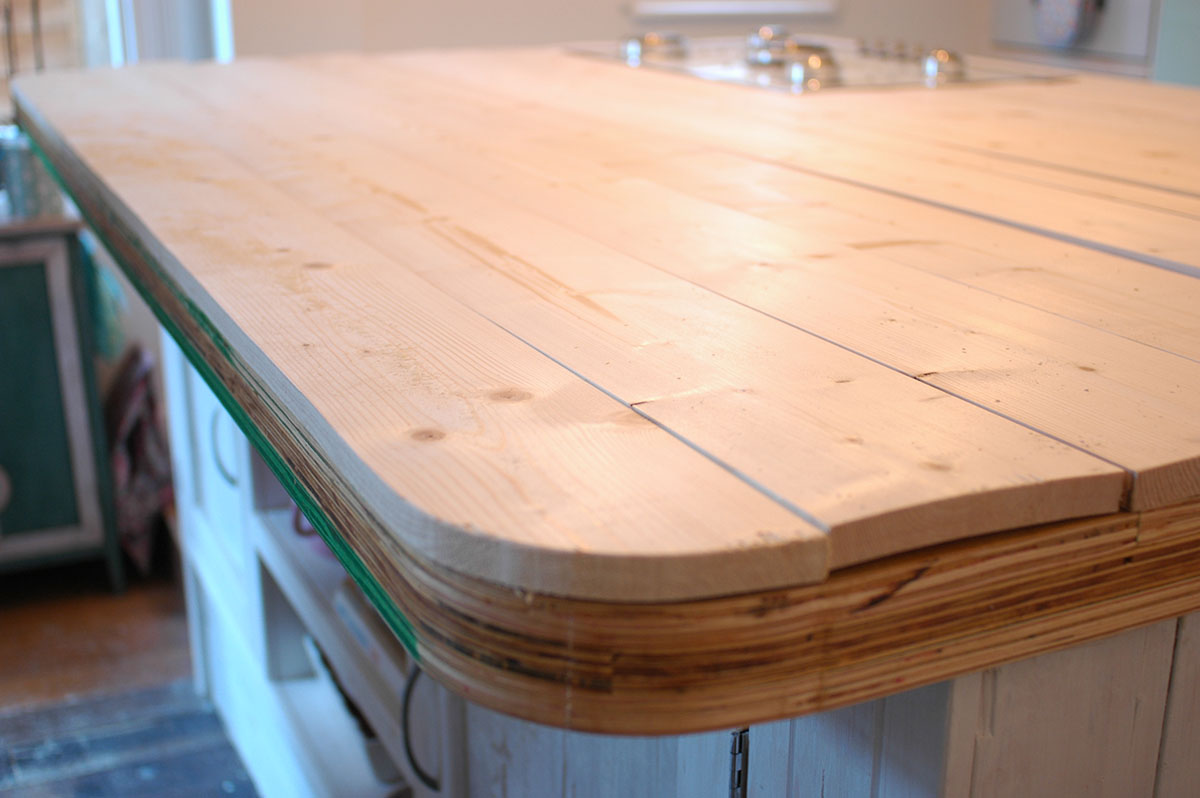
This was then all sanded down, and the screw holes and any gaps were filled with wood filler. We then stained and varnished the wood. The final issue was how to cover the edge of the plywood. We went back to the original idea of copper, and bought copper strips and copper nails online and used these around the edge.
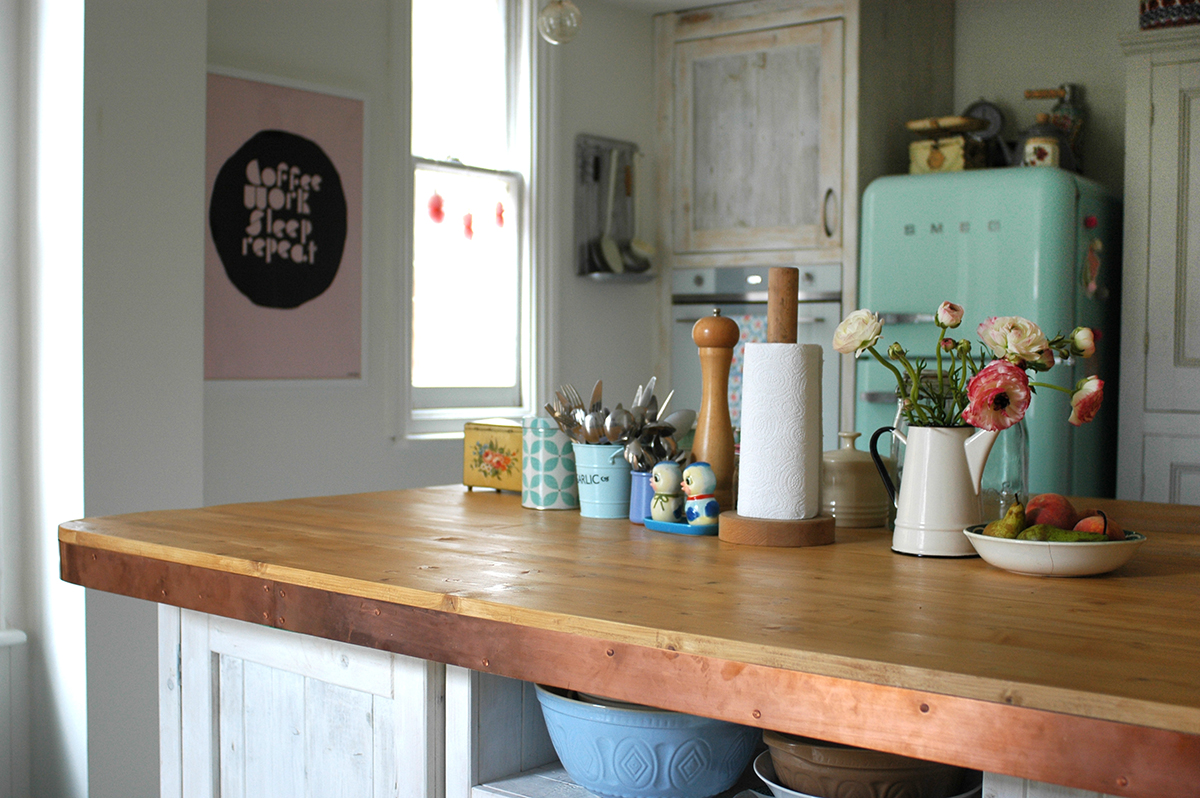
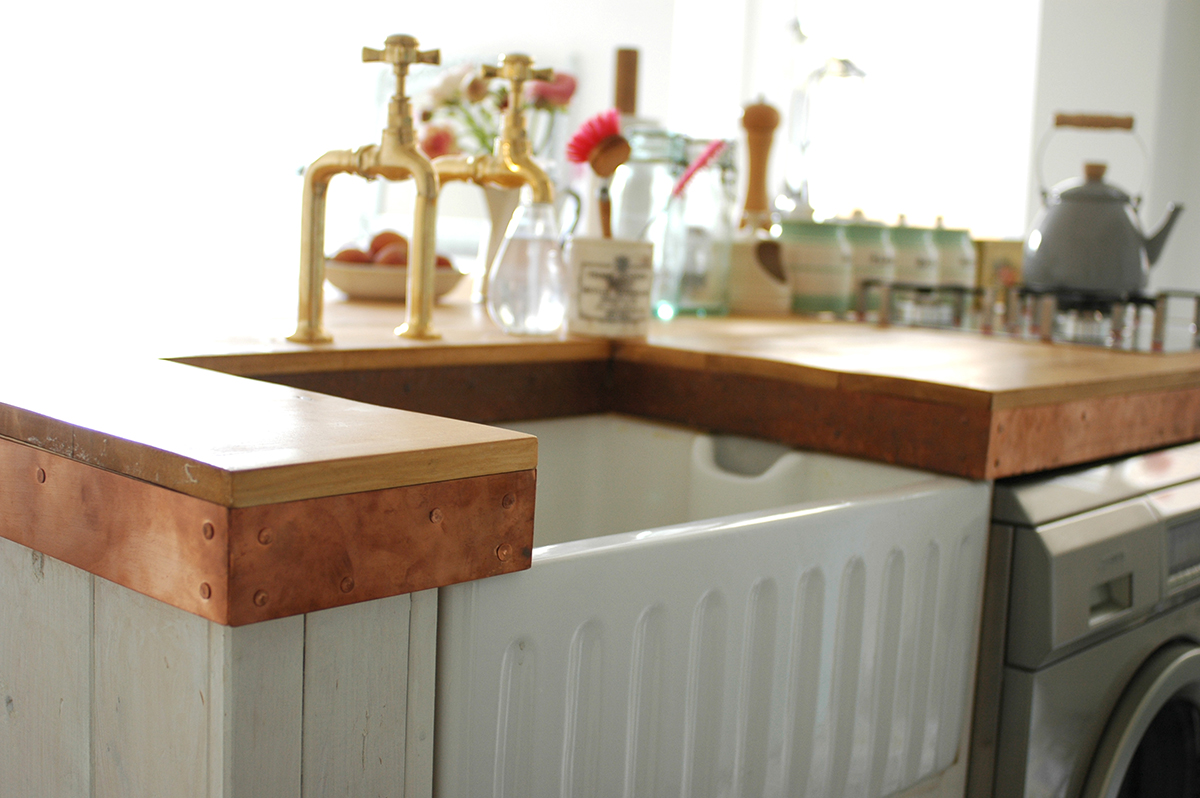
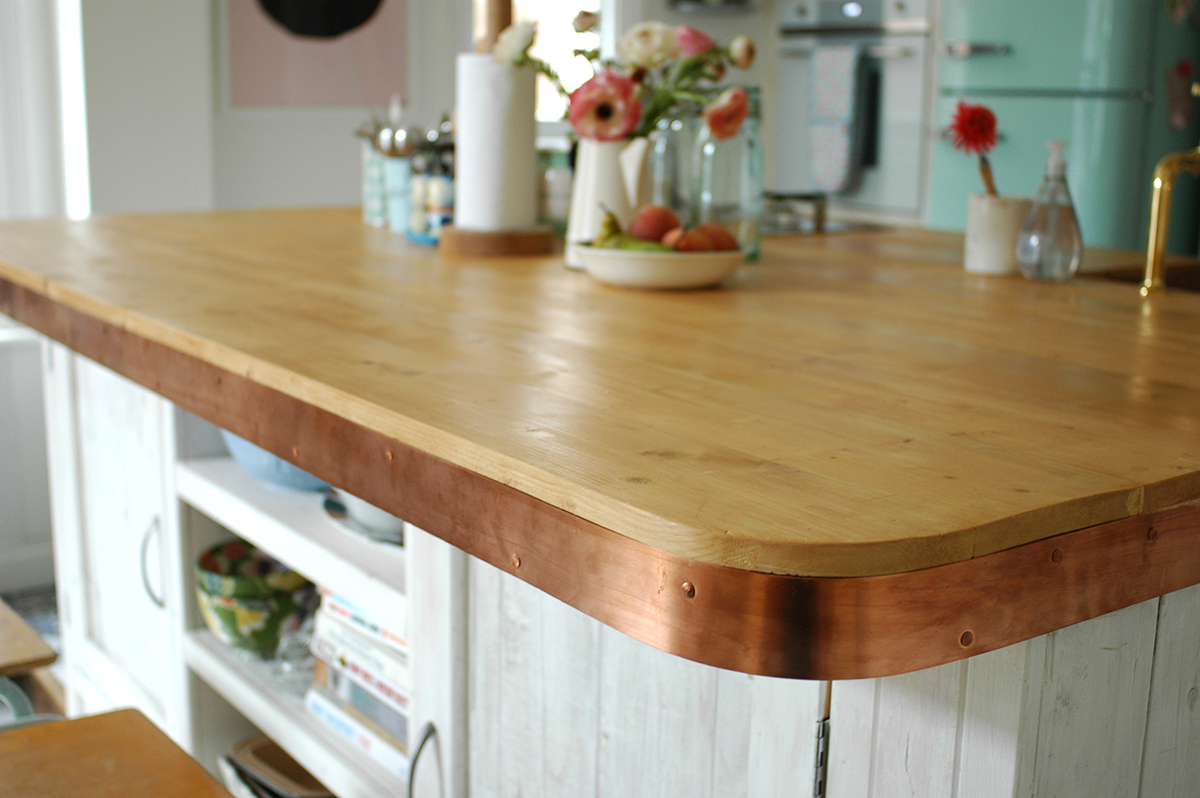
Ta da! This is the finished result! Oh and we fitted the taps ourselves! I think it turned out really well and was a much cheaper alternative. The great thing about copper is that it ages well, so even around the sink where it gets wet, the oxidation and patina just adds to what i hope is a kind of modern rustic look.
It cost us approx. £400 for the materials - the wooden planks, stain, varnish, copper strips and nails. And nothing else but a bit of our time and hard graft. Compared to the quotes of between £1000-£2000 for the copper or concrete worktops, it has certainly proved a more affordable option. It might not be quite as impressive as either of those, but hey, when you're on a tight budget, you often have to compromise. I'd love to hear what you think! x
